
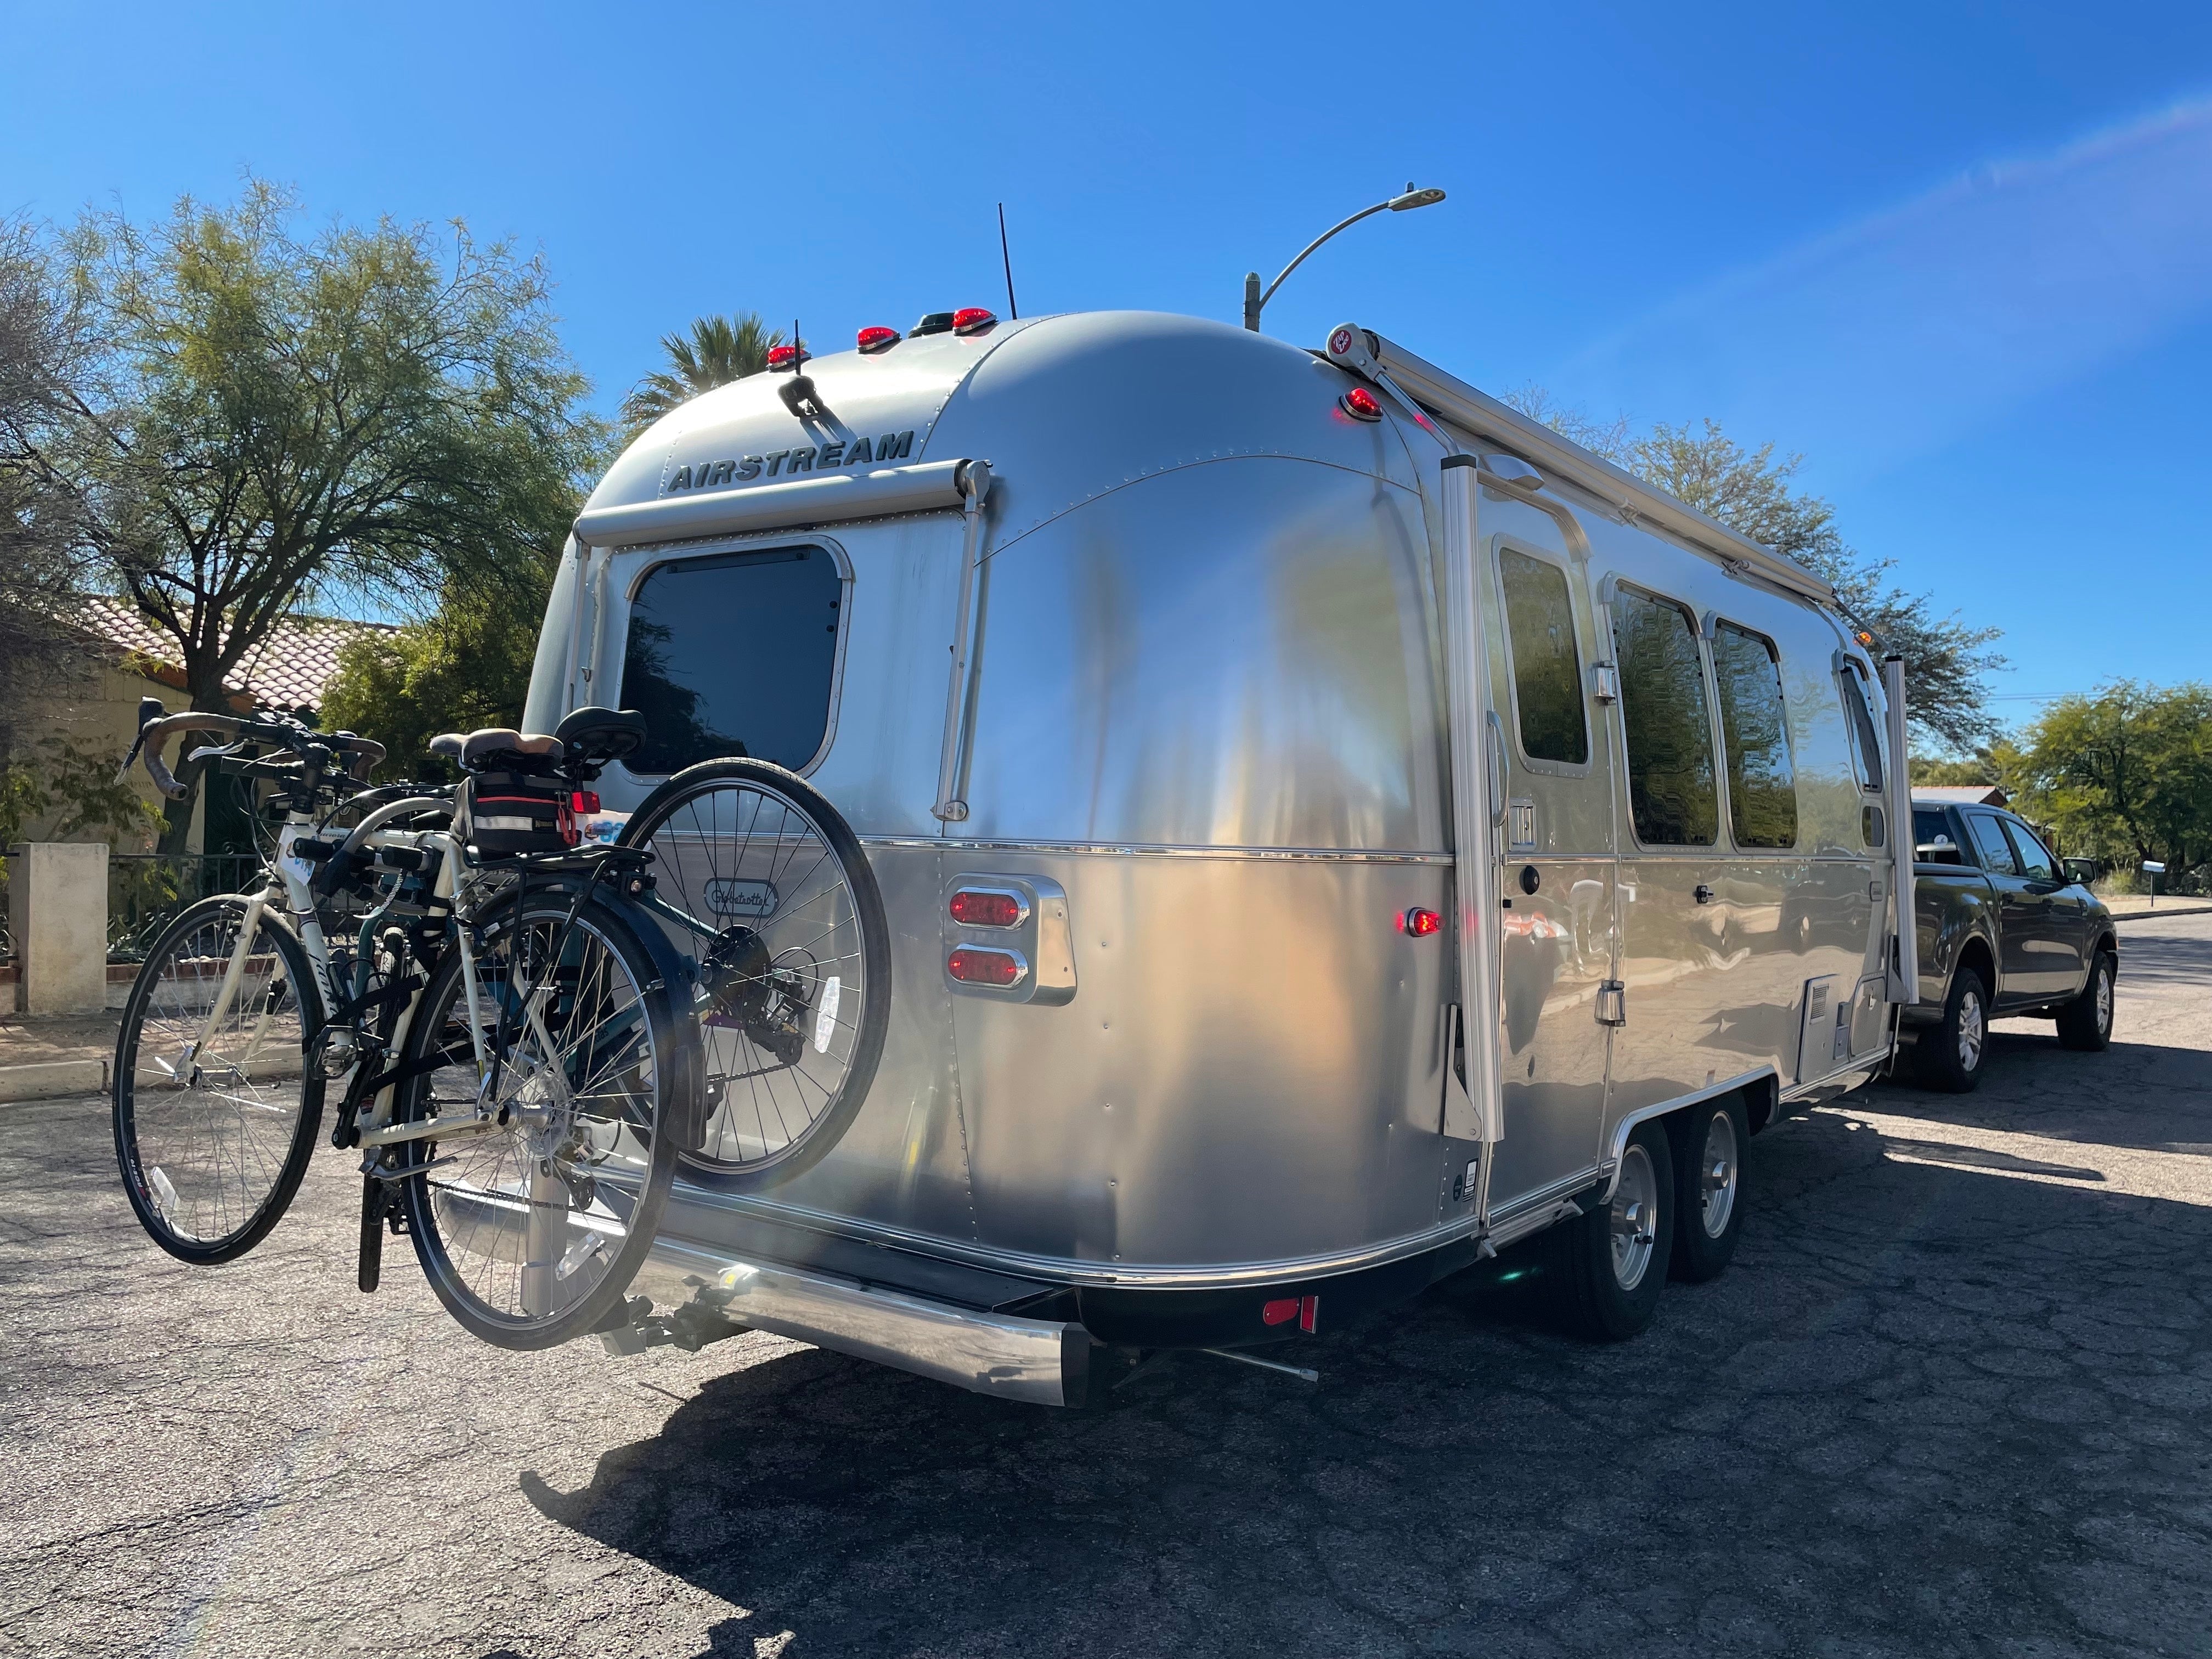
We're planning a major trip this summer. We'll be leaving Arizona in the peak of the hot season, and heading up to circle around cool Lake Michigan for four weeks. We're really looking forward to it.
Most of the time we'll be thousands of miles from home, and so I want to have everything ready for a (hopefully) trouble-free trip. That takes a lot of advance work.
People often ask what extra steps I take to prep the Airstream, beyond the usual checklist, for a long trip like this. I think they assume that because I wrote the popular guide on Airstream maintenance, I must keep my Airstream in perfect condition all the time. Ha! I'll readily admit that there are a few things on my rig that I probably should have dealt with months ago.
So having a big trip planned provides good motivation to finally deal with the things I've been putting off, and perhaps get to a few improvements as well. In this blog I'll give you an honest look at my process this month as I get the Airstream ready for the 5,000 mile trip across the country.
Start with the previous trip
In April we took a 1,400 mile roundtrip to a rally in California. My habit is to dictate thoughts about what problems and maintenance items need to be addressed, while I'm driving, and Tothie puts them into a shared Note on our phones.
That was our last planned trip before the big July adventure, so it was in effect a "shakedown" which helped start the bug list. On this trip we noticed:
- the plastic cover to the circuit breaker/fuse box had broken
- some sealant at the front of the Airstream was gapping
- the dinette cushions had become impossibly dirty (I blame the dog) and nothing was working to get them clean
- the entry steps were getting hard to fold up
- one bedroom reading lamp had disassembled itself
- the rope light on the awning was no longer working
- the carbon monoxide/smoke detector had expired
None of these things are particularly challenging to fix, and none of them would prevent us from going on our next trip. But I hate heading out in a leaky boat. It starts the trip with a bad feeling of being under-prepared and behind the curve.
Start projects and repairs well in advance
The bug list above is really just a starting point. From experience I know that more little bugs will show up as I get into the trip prep, so it's important to start early. I like to start with the projects that require research, because those are the ones that consume the most time.

For example, the dinette cushions had annoyed us for a while. The Spradling Hitch fabric used in the Globe Trotter supposedly had protective coatings that would make it easy to clean and even anti-bacterial. We never saw any evidence of that; the material got dirty quickly and rejected all attempts at cleaning it. So I needed to get away from the manufacturer's recommendations and find a better way to clean the cushions.
It took a while, but eventually the answer came from the boating community, who have much tougher cleaning challenges on their vinyl cushions. Starbrite Ultimate Vinyl Clean did the job amazingly well, followed by a protective spray of Starbright Ultimate Vinyl Guard. You can see a before/after demo in the photo. Great stuff.
At the same time, I was ordering parts and supplies: a new cover for the fuse box, some sealant, and more of my favorite lubricants, to deal with some of the other bug list items. Having lots of time to figure stuff out, and get products shipped in, makes the whole pre-trip process much more comfortable.
Think about upgrades
Having a gap before a major trip is a great time to get upgrades in place. With 9 weeks between trips, I was salivating to finally get a few long-awaiting projects done.
One of the simplest upgrades on the list was to work out a way to have a portable grill with us. We've never had one for our Airstream before. The Weber Baby Q is a popular choice and it cooks well, but a little bulkier than I wanted. Eventually I settled on the Magma Beach Fire. It has an integrated gas regulator and is designed for those dinky 1-lb propane bottles, which meant another research project to find a particular type of hose so I could connect it directly to the 30# propane bottles on the Airstream. Tothie cooks extensively in the Magma stackable cookware, which she has found to be high quality. So I hope to have the same result with the grill.
You might also consider using a big trip as a push to add some of the "boring" but important tools and bits that you've been meaning to carry. We've got a list of suggestions here. I'd also suggest getting some convenience items, like a MiniLink if you use a Starlink Mini, or a really good water hose, or an EasyStart, to make your daily travels easier.
Look ahead to what's going to wear out
Obviously you don't have a crystal ball to tell you what's going to break. But you can take a good guess at what might wear out. That means taking a look at brakes, hitch parts, bearings, lubrication points, and tires, on both the tow vehicle and trailer—or having a competent service center do it. Don't forget engine items either, like oil changes and other scheduled maintenance.
Now my list is getting kind of long. I'll be taking the truck to the quickie-lube place, and probably make 6 or more separate trips to the Airstream storage location to work on things. It's starting to feel like I'll need every bit of those 9 weeks to get ready.
Go through all on-board storage and cull
No matter how vigilant we are about not accumulating stuff in the Airstream, somehow it gets heavier and more crowded with every trip. There's only one good solution: periodically go through all the storage areas—and I mean every single spot that stuff sits, not just the exterior compartments—and ruthlessly remove things we don't really need.
I've already done the bedroom area, and one of the exterior compartment. We already know that the under-dinette storage is a disaster, so an hour will be added to one of the Airstream sessions to deal with that.
Once we've freed up some space, we'll add a couple of things we've wanted for a long time. I finally bought us a new mini-vac, and now that we have the Sorein Power Station we might even put an electric toaster in our basic travel kit.
"Nothing new on race day"
Tothie always quoted this during her running years, and it's a saying that applies well to Airstream trips. If you're changing up your gear significantly, it's a good idea to test it out before you launch to the moon. In my case, I plan to fire up the new grill, and test some other new toys I've picked up recently.
It's even better if you can manage a short trip a couple of weeks before the big one. But if that's not possible, you can at least test all the major systems and appliances (electrical, water, heat, air conditioning, etc.) for proper operation. Since we have the Airstream connected to power in our storage facility, it's easy to test all the systems while I'm there to work on other projects.
Top it all up & clean it all up
The final steps for us will be to check every consumable item and make sure it's fresh and full, then clean the trailer from top to bottom. Consumables include everything from soap dispensers to propane, and includes sanitizing the fresh water system. I expect to do that in mid June, a couple of weeks before we head out.
With all that done, leaving home will be an anxiety-free experience. Instead of worrying about what might go wrong, I love the feeling that comes from knowing everything in my Airstream is checked, cleaned, and ready for the road ahead.
7 comments
Anonymous
Betsy W: The rack pictured is an old one which we ultimately decided was not stable enough for trailer use. We now use (and recommend) racks from 1-Up USA. Their racks are built to last a lifetime, extremely easy to load and unload, and rock-solid stable. The only catch is that you do need a well-installed hitch receiver on the back of your trailer, especially if you’re considering carrying e-bikes.
Betsy W
Would share the brand or model # of the bike rack?
Anonymous
Paul H: Yes, I mentioned that I need to connect the Magma Beach Fire grill directly to the 30# propane tanks but didn’t explain why. It is indeed for the reason you mentioned: the grill has a built-in regulator that can’t be removed, so it must be connected directly to the tanks and cannot use the LPG port that Airstream provided.
Jim Mewkill
We’re midway through a 5 week trip from New England to San Diego. Our previous long trip was 3 years prior ( house building sucks up a bunch of time) and despite leaving myself weeks to prep, several items came down to last minute efforts. Vendors failed to ship, items didn’t get delivered in time etc. However we’ve still enjoying the heck out of all the new places we’ve been going through. Sometimes just getting on the road is the best part.
Jim "Spike" Carsten
Your article re-enforces something I learned at age 15 (year??) with my first motorcycle. I hate washing and waxing vehicles. However, that simple and thorough job forces me to look and inspect many pieces and parts that otherwise are not noticed until failure. It’s not all inclusive or failsafe but it is a great way to start. Thanks for your observations and advice.
Gil
As always, well written and packed with useful information. Thank you to both of your for taking the time to share.
paul hammerle
you should mention that you cannot just connect your new grill to the Airstream gas outlet, because that is already low pressure and your new grill needs high pressure because of the built-in regulator.